How to Safely Sterilise and Clean Your Baby’s Dummy: A Parent’s Guide
September 14, 2026
If you have ever watched a dummy bounce across a supermarket floor and thought, "Now what?", you are not alone. Dummy hygiene can feel like a constant game of keeping up, especially in the early months when your baby’s immune system is still developing.
This guide focuses on practical, realistic steps for cleaning and sterilising a baby’s dummy from first use, plus what to do on the go, how to store dummies, and when it is time to replace them.
Why dummy hygiene matters (and when to sterilise)
A dummy (pacifier or soother) regularly comes into contact with saliva, hands and surrounding surfaces, so keeping it clean helps limit the transfer of germs back into your baby’s mouth. Poor dummy hygiene may also contribute to infections, including oral thrush (a yeast infection) in some babies.
Public-health guidance generally emphasises regular cleaning and sterilisation during a baby’s first year, so wash and sterilise dummies regularly, following the cleaning instructions provided by the manufacturer. For dummies, many parents choose to sterilise very regularly in the newborn period and then gradually relax into thorough washing as babies get older and start mouthing toys, hands and everything else within reach. If your baby was born prematurely, has a health condition or is being treated for an infection such as oral thrush, ask your health visitor, GP or paediatrician whether additional precautions are needed.
Personal insight: Keep more than one clean dummy available, especially when you are away from home. This makes it easier to replace a dropped or dirty dummy without trying to clean it quickly or reuse it before it has been properly washed and sterilised.
For general NHS guidance on sterilising baby equipment, see: Sterilising baby bottles and teats
Before first use: how to sterilise a brand-new dummy
Even if a dummy is new and sealed, it is sensible to sterilise it before your baby uses it for the first time.
Quick checklist
- Wash your hands.
- Check the manufacturer’s care instructions (especially for temperature limits).
- Make sure any pan, tongs and drying area are clean.
How to do it (boiling method)
- Bring a clean pan of water to a rolling boil.
- Submerge the dummy fully (make sure it does not rest against the hot base of the pan).
- Boil for 5 minutes (unless the manufacturer advises otherwise).
- Remove carefully with clean tongs or a clean spoon.
- Leave it to cool and air-dry on a clean surface.
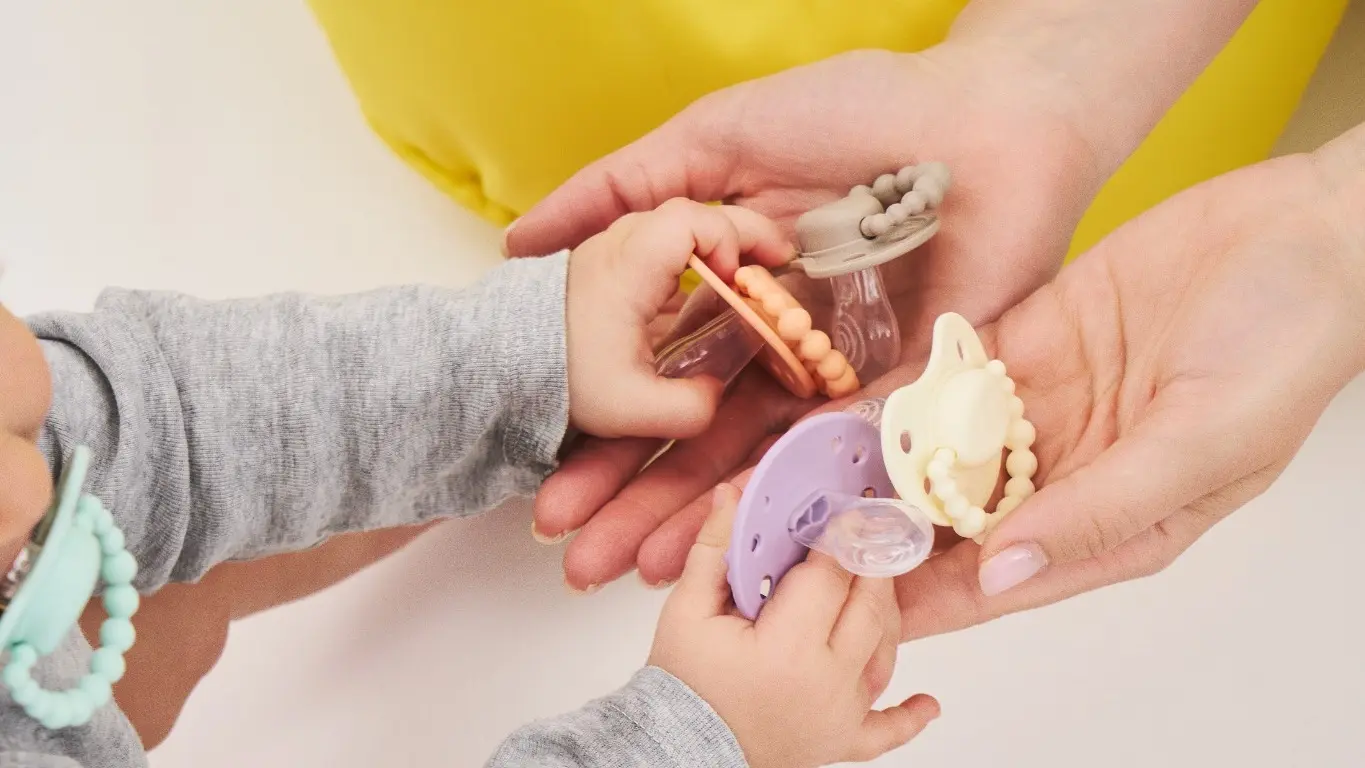
If you are packing a hospital bag, consider bringing more than one dummy so you always have a clean backup. Some parents like twin packs for this reason. For example, LUU Kids offers LUU pacifier twin packs so you can keep one in use and one stored clean.
4 safe ways to sterilise a dummy (step-by-step)
The best sterilising method is the one you will use consistently and correctly. The table below compares common options.
| Method | Best for | Pros | Things to watch |
|---|---|---|---|
| Boiling water | Home use, simple setup | No special equipment | Heat risk, watch timing and manufacturer limits |
| Microwave steriliser case | Fast home sterilising | Quick, contained | Follow case instructions carefully; contents stay sterile only while the case stays closed |
| Cold-water sterilising solution | Travel, overnight stays | No heat needed | Correct dilution and contact time matter |
| UV steriliser | On-the-go convenience | No water, no chemicals | Needs charging; surfaces must be exposed to light |
1) Sterilise a dummy in boiling water
- Use a clean pan and fresh water.
- Bring to a rolling boil.
- Place the dummy in the water so it is fully submerged.
- Boil for 5 minutes (unless your dummy’s instructions say otherwise).
- Remove with clean tongs and place on a clean surface to cool and air-dry.
Personal insight: If you boil dummies regularly, keep a dedicated set of clean tongs and a small air-dry area (a clean plate or paper towel on a high shelf). It saves time and reduces the temptation to dry a dummy with a tea towel that might not be as clean as it looks.
2) Sterilise a dummy using a microwave steriliser case
Microwave cases can be very convenient, especially for busy days, but always follow the instructions for your specific case.
- Rinse the dummy first if there is visible debris.
- Add the recommended amount of water to the case.
- Place the dummy inside without overcrowding.
- Microwave for the time stated in the case instructions.
- Let the case stand for the recommended cooling time before opening (steam burns are common).
- Keep the case closed until you need the dummy.
How long does it stay sterile? As a practical rule, treat a dummy as sterile only while the steriliser case remains closed. If you open it, assume it is no longer sterile and use it soon or re-sterilise. Many parents use a 24-hour rule for unopened storage, but always follow the guidance that comes with your specific case.
3) Cold-water sterilising (for example, using a sterilising solution)
- Prepare the solution exactly as instructed (correct dilution matters).
- Fully submerge the dummy.
- Leave it for the full contact time stated on the product.
- Remove with clean hands or clean tongs.
- Drain and use as directed (some products require rinsing, others do not).
4) UV portable sterilisers
- Clean off any visible dirt first (UV does not remove debris).
- Place the dummy so all surfaces are exposed as much as possible.
- Run a full cycle.
- Remove with clean hands and store in a clean case.
Daily washing, drying and storage
Sterilising is one part of the routine. Day to day, good washing and storage habits make a big difference.
How to wash a dummy (daily)
- Wash your hands.
- Wash the dummy in hot soapy water.
- Rinse thoroughly so no soap residue remains.
- Leave it to air-dry completely.
Storage that actually stays clean
- Use a dedicated dummy case or a clean, dry container.
- Do not leave dummies loose at the bottom of changing bags.
- If your dummy has a cap, use it only once the dummy is fully dry (trapping moisture can encourage microbial growth).
Personal insight: The biggest hygiene slip we see is not the cleaning method - it is storage. A freshly sterilised dummy placed into a pocket with crumbs, lint and keys stops being clean immediately. A small case can be a low-effort fix.
Cleaning dummies on the go (without guesswork)
When a dummy drops outside the house, aim for the safest realistic option based on where it landed and how quickly your baby needs it.
If you have a spare dummy
Use the spare and deal with the dropped dummy later. This is often the most hygienic option. Many parents keep two in rotation (one in use, one clean in a case), which is exactly why multi-packs can be practical.
If you do not have a spare
- If it fell on a clean indoor surface: washing with hot soapy water when you can is usually fine. If your baby is very young, consider sterilising afterwards.
- If it fell in a public place (pavement, car park, public transport): rinse if possible, then sterilise as soon as you are able. If you have a portable steriliser, use it.
Should you "clean" a dummy by putting it in your mouth?
It is not recommended. Adult mouths contain bacteria that can be passed to babies, and this can increase the chance of issues like tooth decay later on once teeth come through. A quick rinse plus proper cleaning later is a safer plan.
Safety checks: when to replace a dummy
Cleaning is not just about germs - it is also about safety. A worn or damaged teat can trap residue, split, or become a choking risk.
Check your dummy daily for
- Tears, cracks, holes or a sticky surface
- Swelling, discolouration or thinning material
- Water getting inside the teat (if applicable) or any unusual smell
How often should you replace a dummy?
Many manufacturers advise replacing dummies regularly, often every 4-6 weeks, and immediately if there are any signs of damage.
What about sizing as your baby grows?
Using an age-appropriate size helps the dummy sit as intended in your baby’s mouth. If you are using a positioning pacifier like the LUU positioning pacifier, the brand offers sizes aligned to development stages (0-3m, 3-6m, 6m+) so parents can move up as their baby grows. If you are unsure, check the product guidance that came with your dummy and consider discussing feeding or oral development concerns with a qualified professional.
FAQ
How often should I sterilise a dummy for a newborn?
In the early weeks, many parents sterilise at least once a day and always after the dummy has been dropped on the floor or handled by others. Follow your healthcare professional’s advice if your baby has additional health needs.
How long do dummies stay sterile in a steriliser case?
As a practical rule, they are sterile only while the case remains closed. Once opened, treat it as no longer sterile. If you are storing a sterilised dummy, many parents use a 24-hour rule, but always follow the instructions for your specific case.
Can dummies go in the dishwasher?
Some can, but not all. Dishwashers may not reliably sterilise, and detergents or heat can damage certain materials. Check the manufacturer’s care instructions and choose a method recommended for your dummy.
Is washing with soap enough after 6 months?
Often, thorough washing in hot soapy water and good storage is enough for older babies, with sterilising after illness or heavy contamination. If you want extra peace of mind, periodic sterilising is reasonable.
What if my baby keeps getting thrush?
Speak to your GP, health visitor or pharmacist for diagnosis and treatment. As part of your hygiene routine, sterilising dummies and anything that goes into your baby’s mouth can be helpful, but it does not replace medical care.
If you are choosing a dummy and want to understand the practical differences in shape and sizing, you can explore LUU Kids positioning pacifiers on the official site. See the LUU Kids pacifier range.